Search
This section describes the process of creating the managed identity to use with LBAVS, so that the tool can authenticate with the Azure APIs to run the AVS Run Commands.
For a video tutorial, please see the section Chapter 3: Adding Permissions to the Lightbits Cluster on AVS in the AVS video series.
Getting the Lightbits VMSS Managed Identity Information
- Navigate to the Lightbits Managed Application Managed Resource Group by searching for the name given to the managed resource group during deployment in the Resource Groups blade.
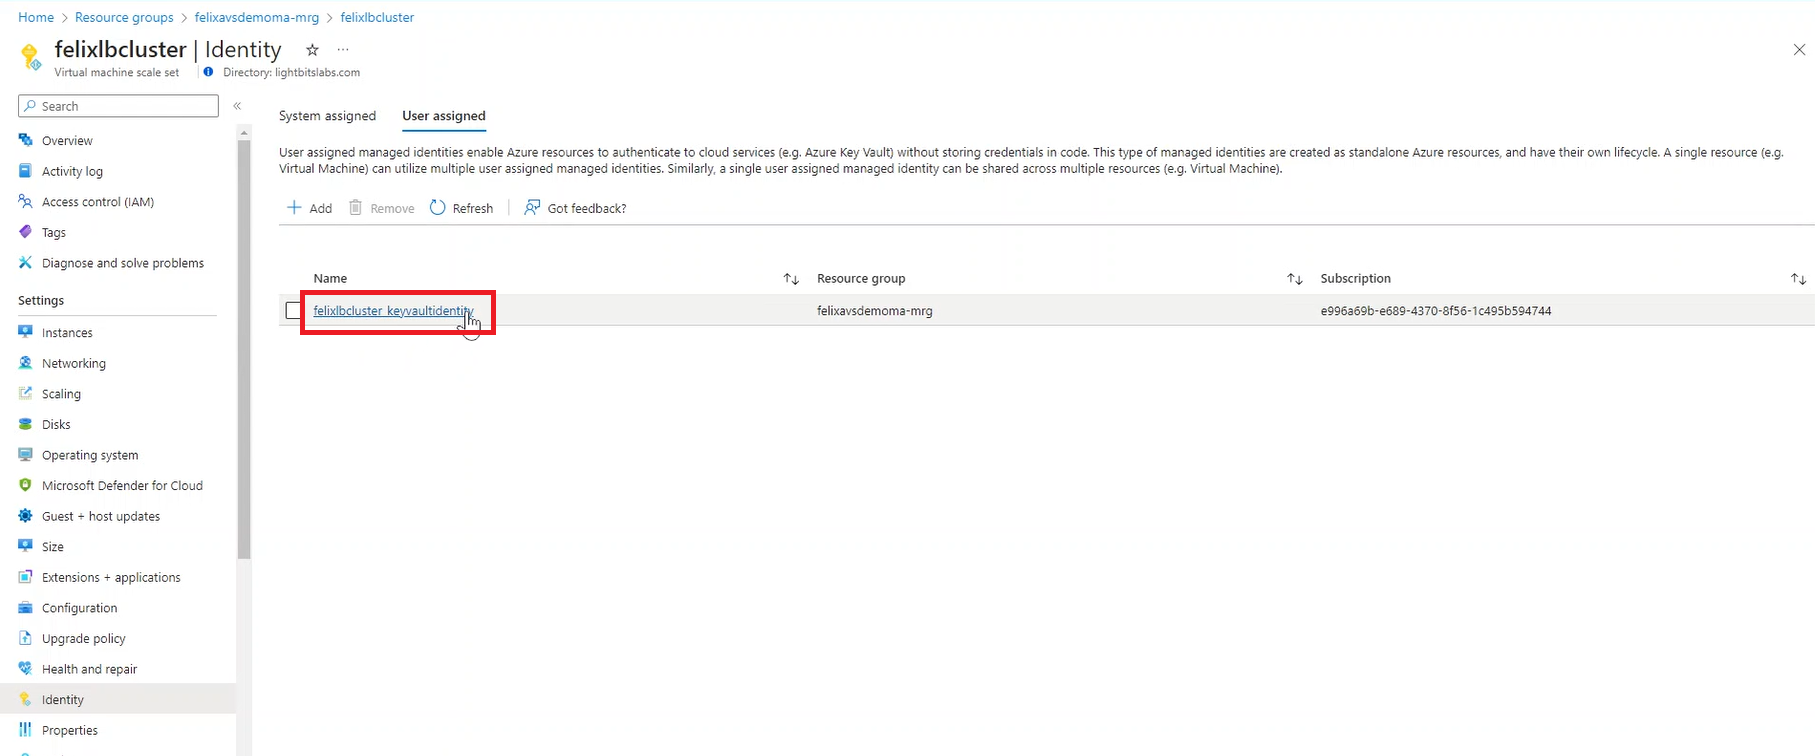
- Click on the Lightbits Virtual Machine Scale Set, and in the VMSS blade, click Identity.
- Click on User assigned and the current user assigned managed identity will display. Note down the name of this managed identity. The name should look something like ${vmss_name}_ keyvaultidentity.
- This will look something like the example from the screenshot below.
Assigning Permissions to the Managed Identity
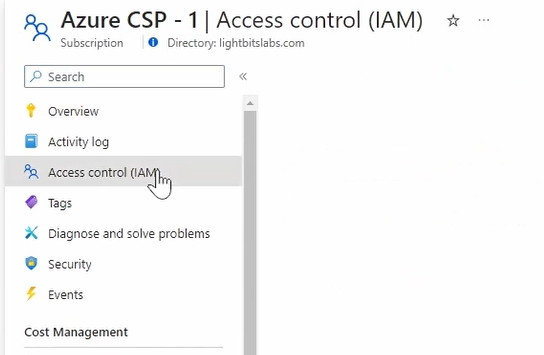
- Navigate to Resource groups and choose the resource group that contains the AVS SDDC.
- Click Access control (IAM).
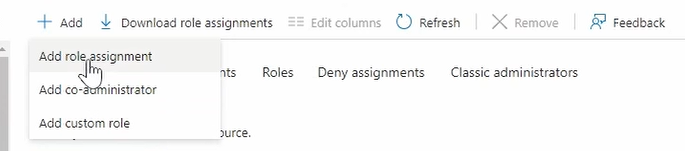
- Click +Add and Add role assignment.
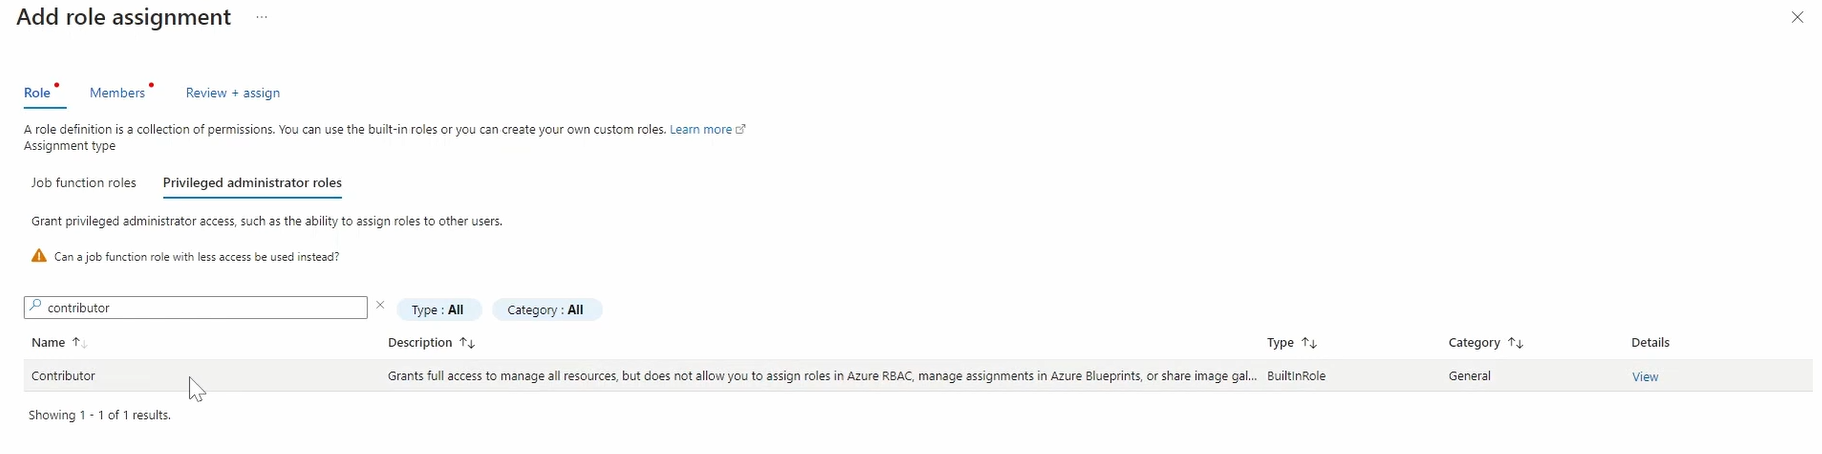
- Click Privileged administrator roles and choose Contributor.
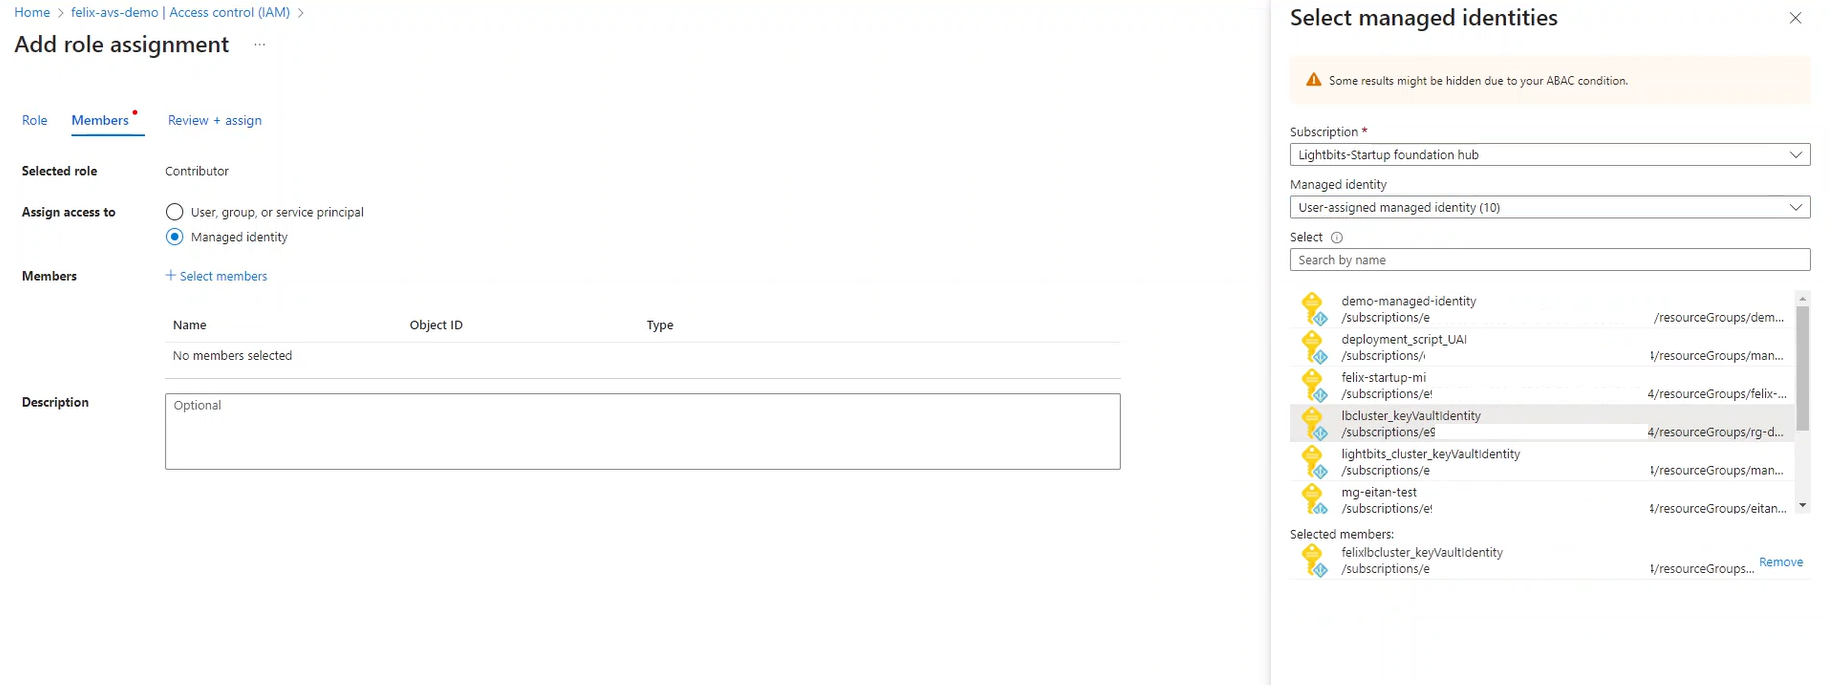
- Click Next. Choose Managed identity and +Select members, and then choose the managed identity that is already assigned to the Lightbits Managed Application VMSS. You may need to change the Subscription to the one that contains the Lightbits Managed Application.
- Click Select and then Review + assign.
Was this page helpful?