Search
- Access the Azure portal using the common link ms.portal.azure.com, and log in using your Azure credentials with the correct permissions defined in the Introduction page.
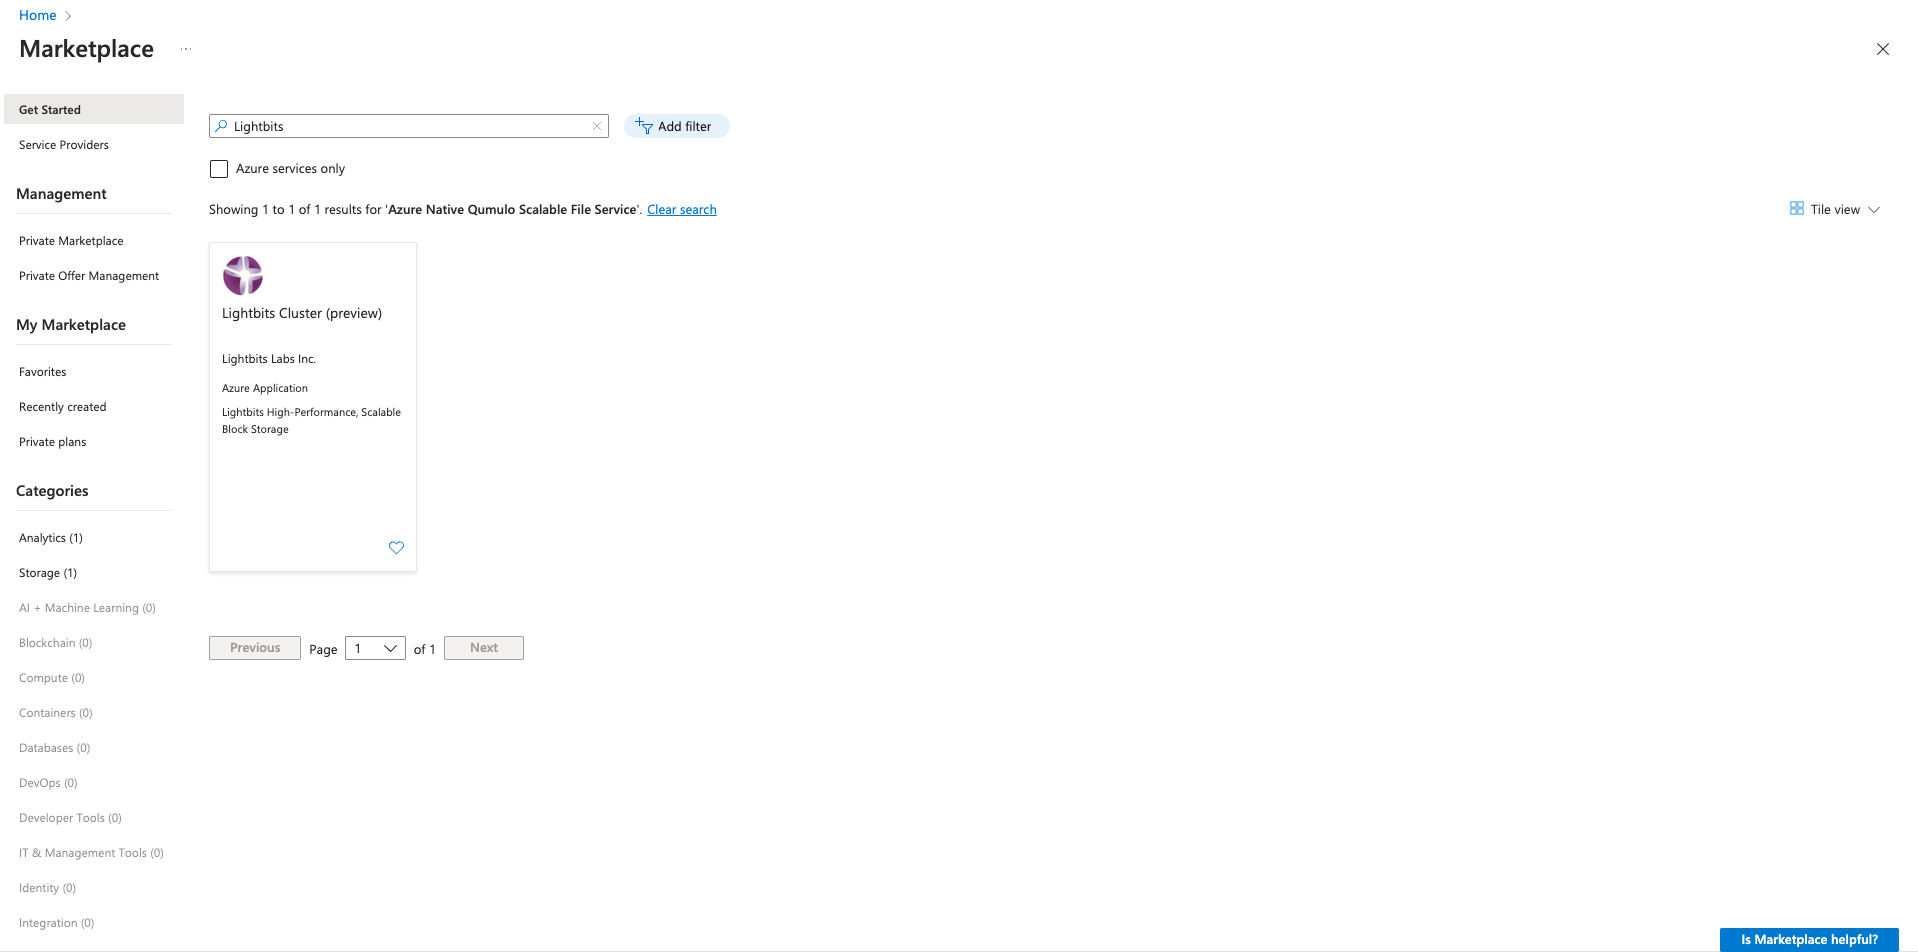
- In the search bar, type "marketplace" and click Marketplace to navigate to the Marketplace page.

- In the Azure Marketplace, search for "Lightbits" and click the Lightbits entry.
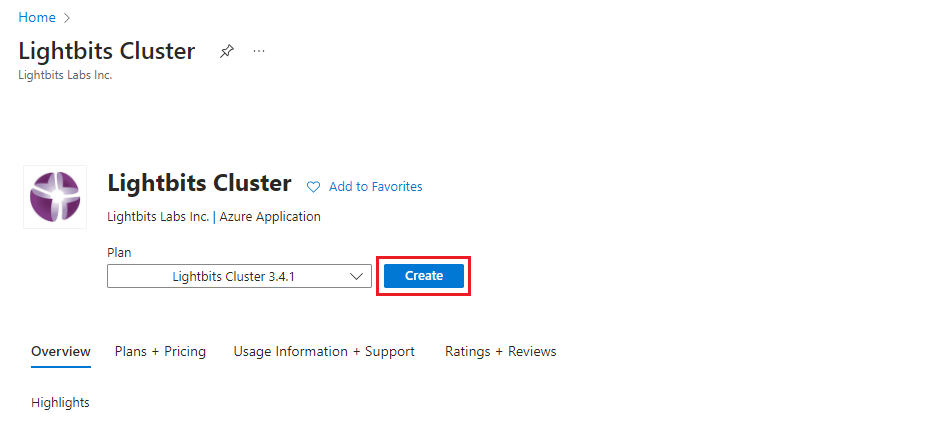
- Ensure that you are subscribed to the Lightbits marketplace offering.
- You will then be taken to the Product page. Ensure that the correct version is selected and click Create.
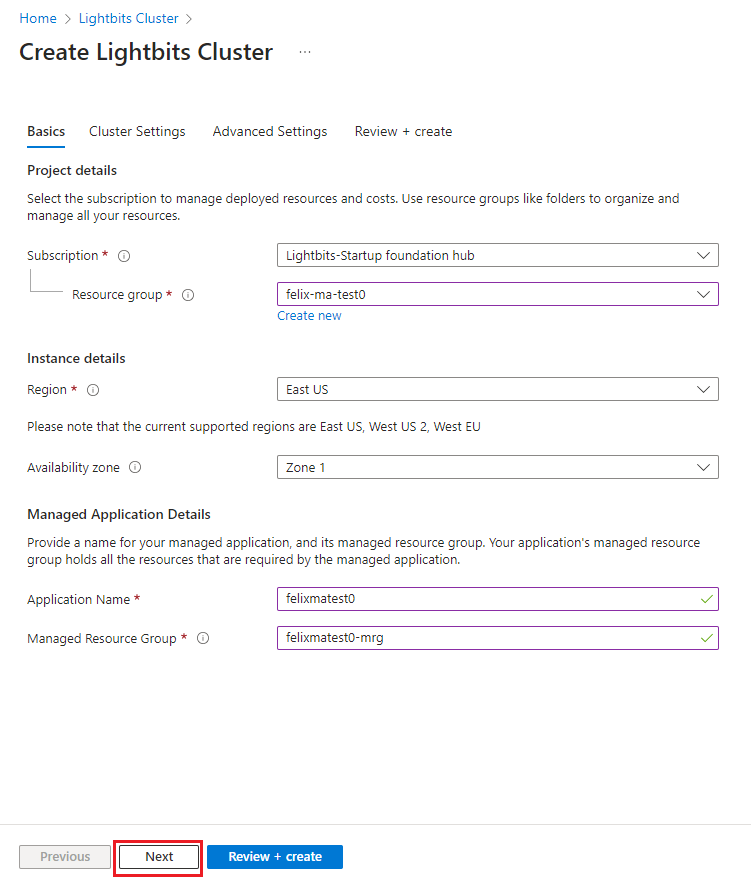
- In the Basics section:
- For Project Details, choose your Subscription and Resource group.
- For Instance Details, choose your Region and Availability zone from the drop-downs.
- For Managed Application Details, enter your Application Name - which must be unique across your subscription - and optionally change the name of the Managed Resource Group that will be created.
The Application Name can only contain letters and numbers, and be between 3 and 32 characters due to restrictions on the resources that will be created using this name as a prefix.
- After all details are entered, click Next.
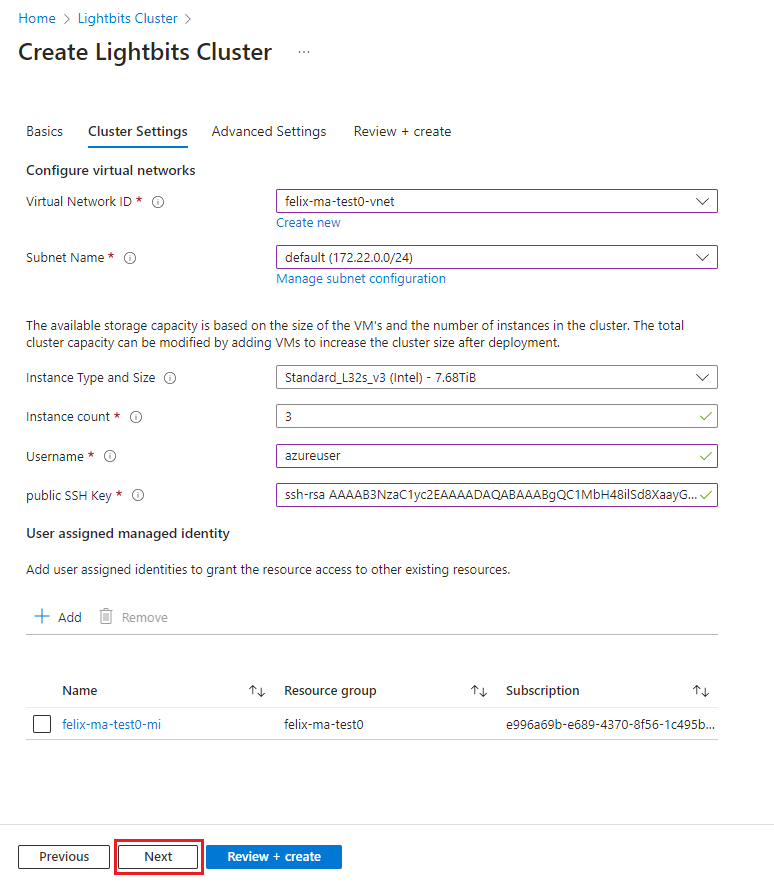
- In Cluster Settings:
- For Configure virtual networks, choose your previously created vNet under Virtual Network ID and the subnet that the Lightbits cluster will use to present data under Subnet Name.
- For the next section, choose your Instance Type and Size; Instance count (this can be changed after deployment); and Username that will be assigned to the instances for SSH access. Then paste the public SSH key that will be used for authentication with the Lightbits target VMs when connecting to them.
- For User assigned managed identity, Click Add.

- In the sub menu, choose the Subscription and search for the user managed identity name that was created for the Managed Application. Select the managed identity and click Add.
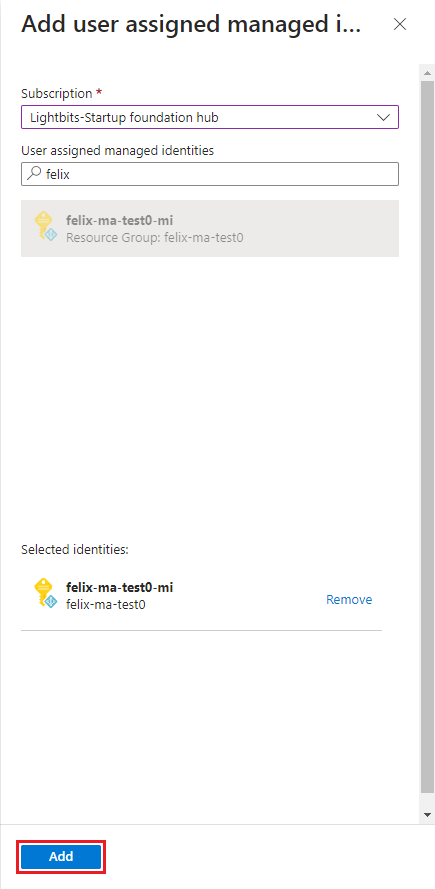
- After adding the managed identity, click Next.
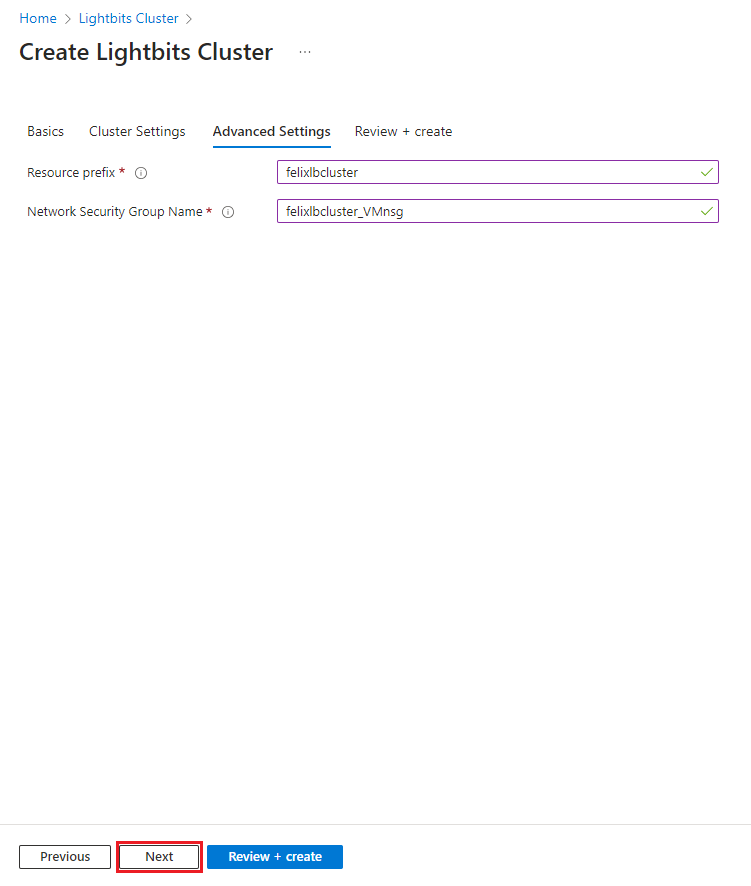
- In Advanced Settings:
- Optionally change the Resource prefix and Network Security Group Name.
- Click Next.
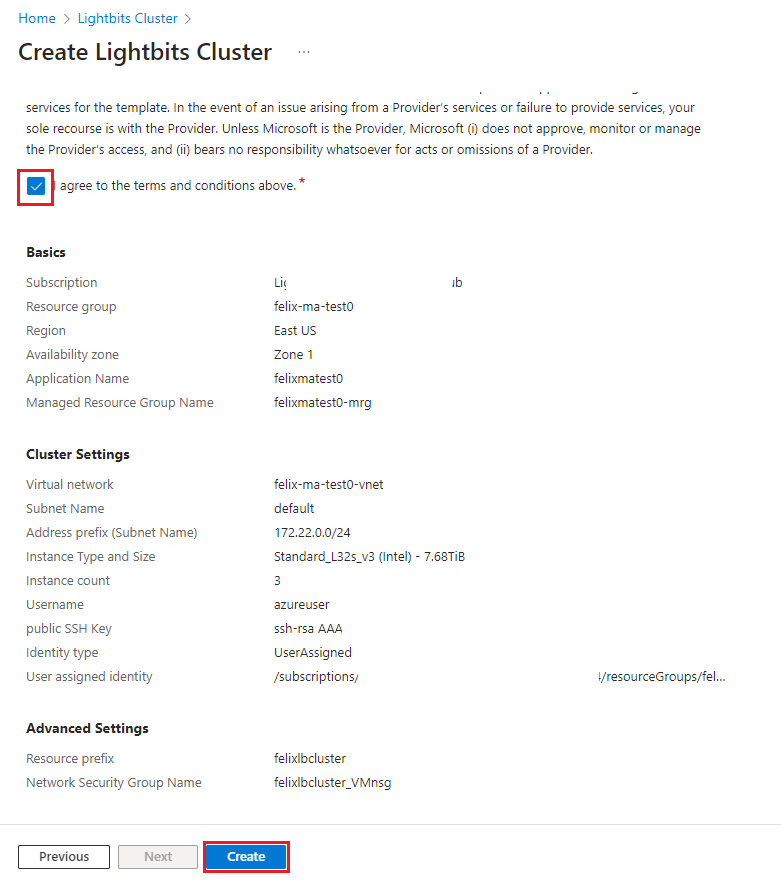
- Review the information in the summary page and ensure that all checks have passed. Scroll down and check the box next to "I agree to the terms and conditions above.", and then click Create.
- You will be redirected to the Deployment page. Here you can see the deployment's progress. The deployment should take around 10 minutes. You can monitor the deployment of resources by viewing the resource group and the newly-created managed resource group.
- After a few minutes, the deployment will show as complete and you can click Go to resource.
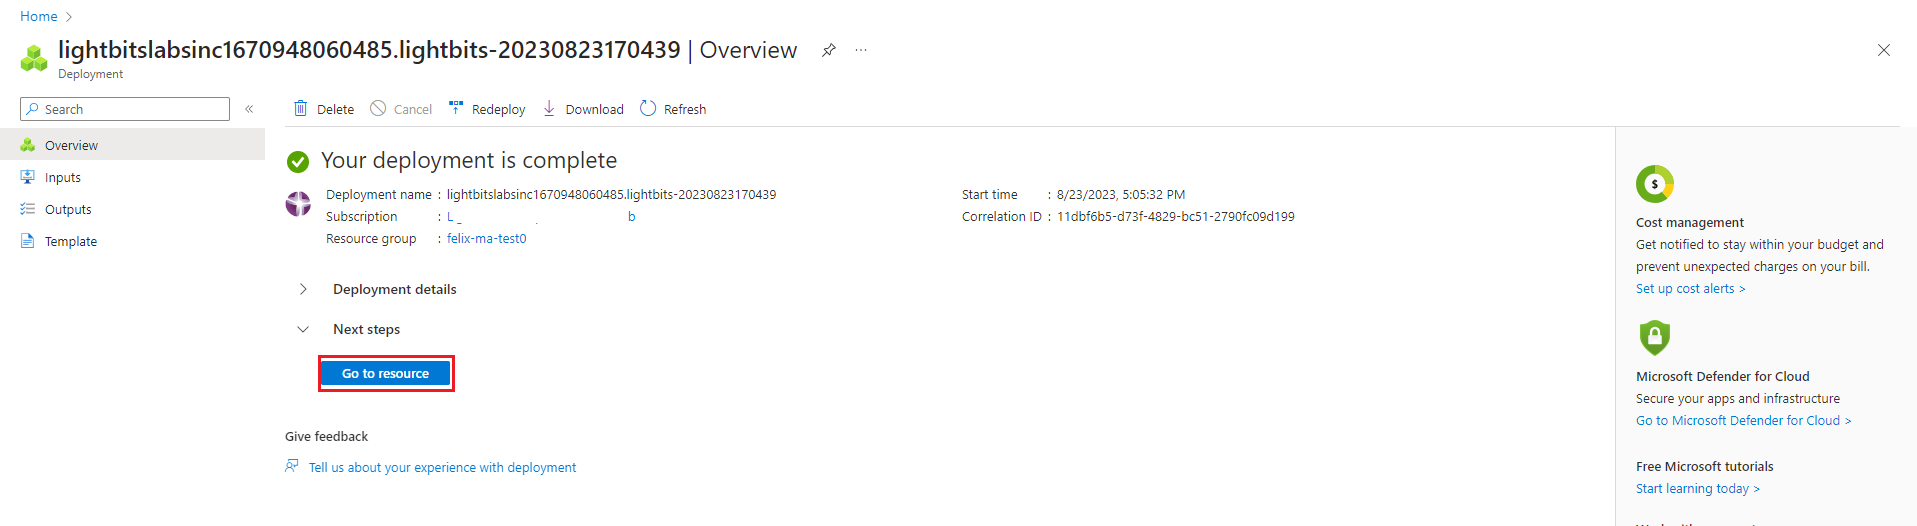
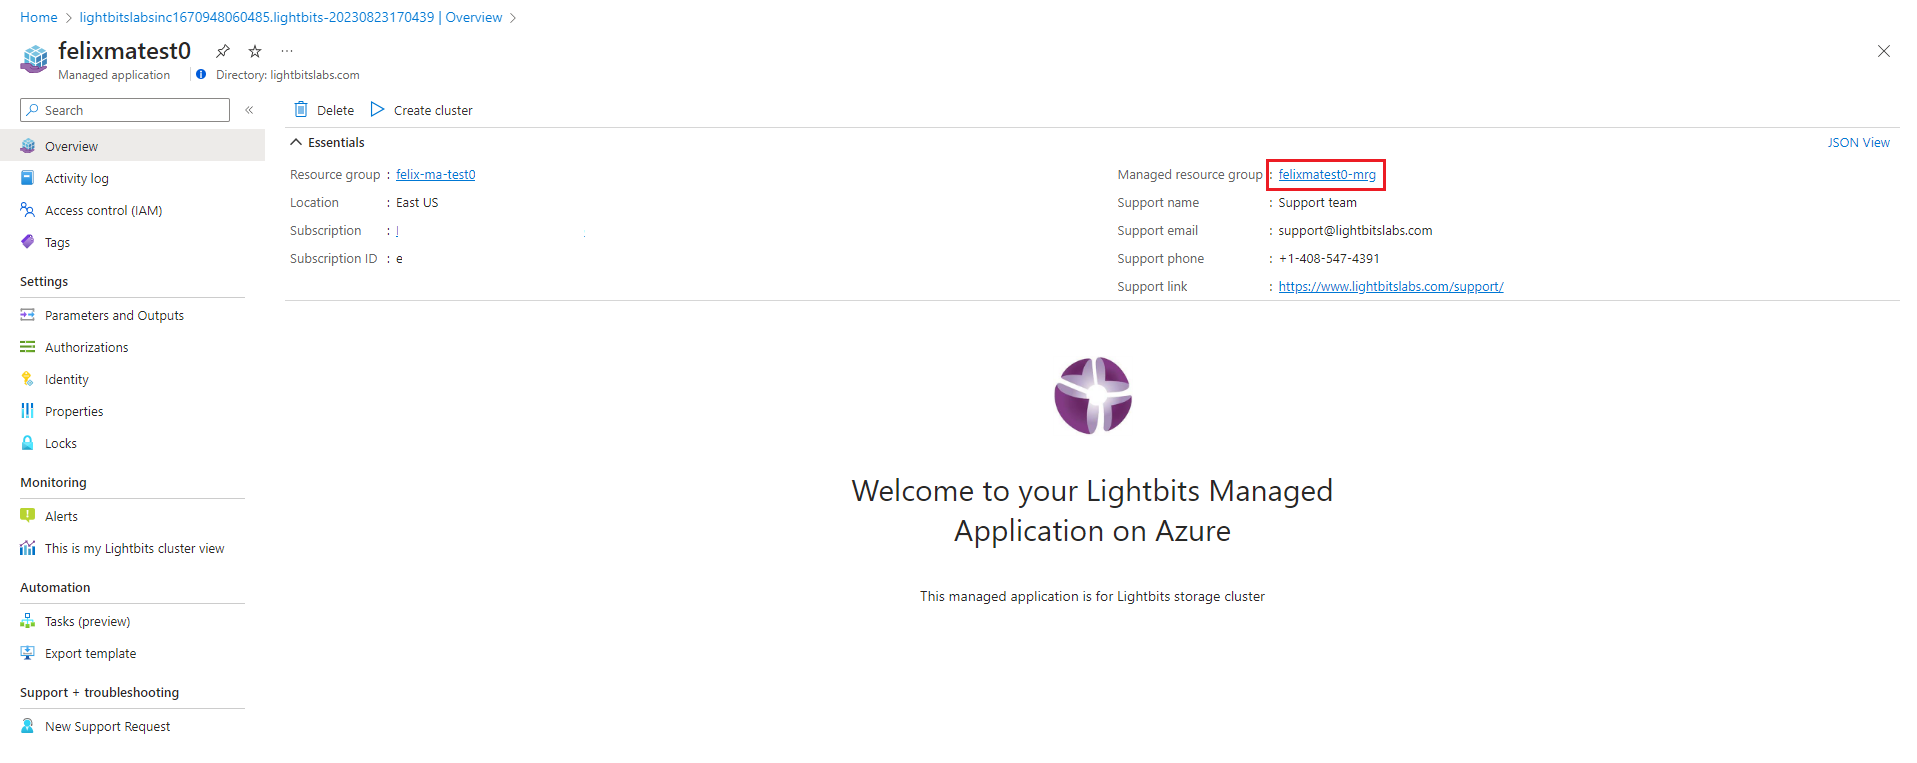
- You will be redirected to the Lightbits managed application screen, which will show some basic information about the deployment. From here, click the Managed resource group link.
Was this page helpful?