Lightbits requires storage-optimized virtual machines with local NVMe devices to run as the SDS cluster. This section details how to deploy the target VMs that will make up the SDS cluster.
Performing this action requires permissions to deploy Virtual Machines in the Azure subscription and Resource Group that is being used.
Deploying Lightbits Target VMs through the Azure Portal
This section details deploying the Lightbits target VMs through the Azure portal. Use the checklist outlined in the Gathering Information About the Deployment Environment article for any inputs.
- Access the Azure portal using the common link ms.portal.azure.com, and log in using your Azure credentials.
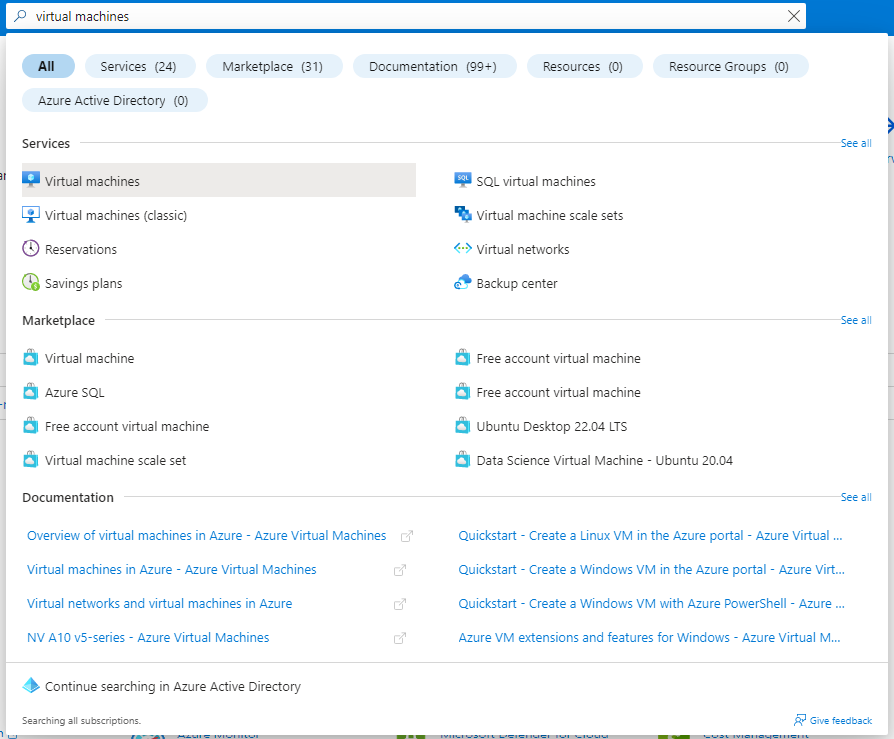
- Once in the portal, use the search bar and search for Virtual Machines, and then click on the entry.
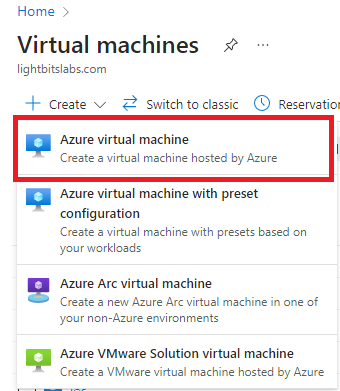
- Inside the Virtual machines blade, click the + Create drop-down and select Azure virtual machine.
Basics Tab
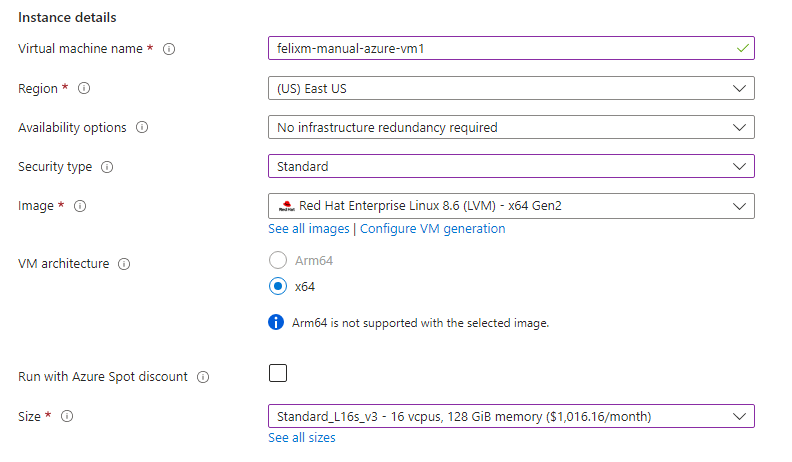
- Inside the Create a virtual machine blade, select the Subscription and Resource group that will be used for the deployment.

- Navigate to the Image section and click See all images to choose the installer image.

- In the Select image blade, search for Red Hat Enterprise Linux.
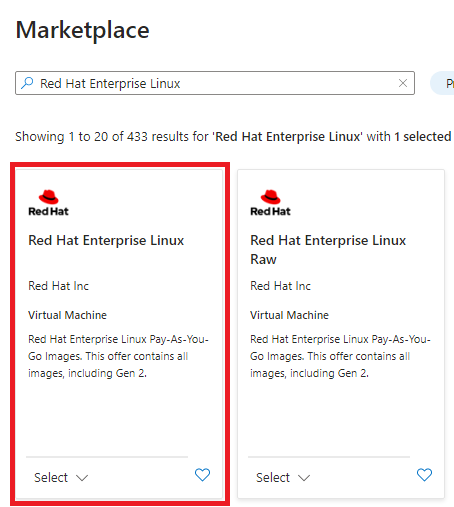
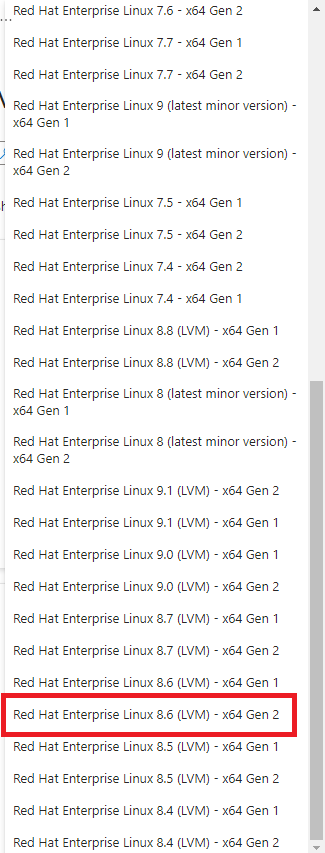
- Select the drop-down in the Red Hat Enterprise Linux entry and choose the above highlighted entry. Scroll down in the drop-down and choose Red Hat Enterprise Linux 8.6 (LVM) - x64 Gen 2. You can choose other versions of Linux including AlmaLinux, Rocky, or RHEL versions 8 or 9.
- Enter a name and region for the virtual machine, and then from the Security type drop-down, ensure that Standard is selected. The size configuration is up to you; for more, follow the information from Gathering Information About the Deployment Environment.
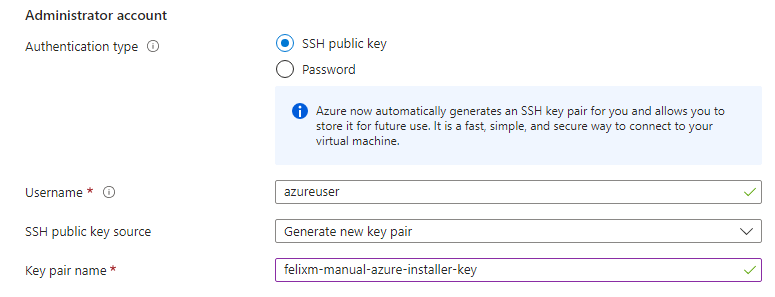
- In the Administrator account section, select either SSH public key or Password - based on your desired authentication - and enter the username and password or public key information. The latter sections of this guide will explain how to work with both methods.
We are using a public IP address to access the instance and will therefore allow SSH as an inbound port, but you can skip this step if you are using a bastion or have another method to access the instance through SSH.
- Click Next: Disks.

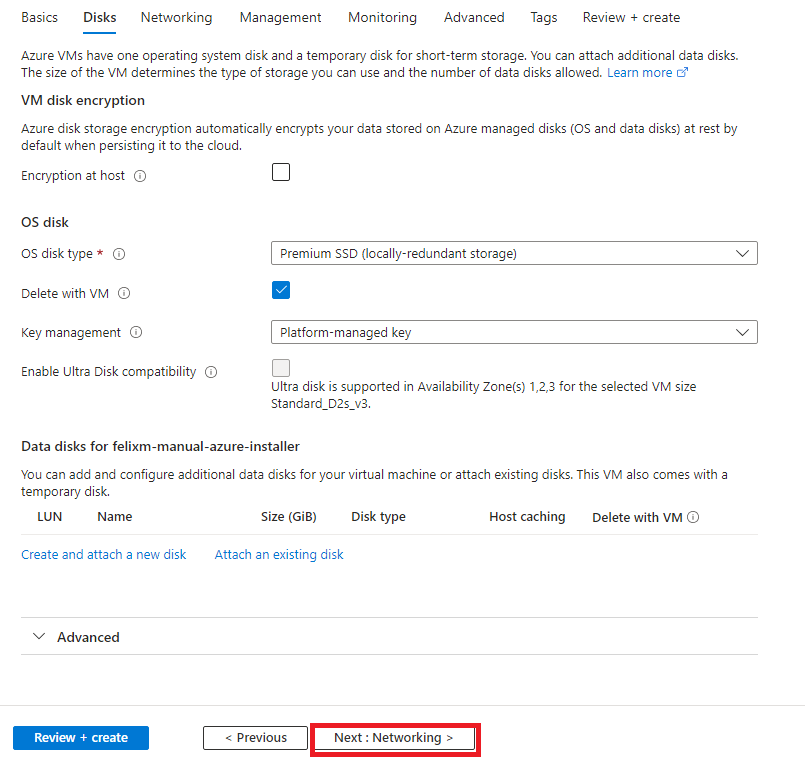
Disks Tab
- Keep the defaults here, and click Next: Networking.
Networking Tab
- In the Network interface section, choose the vNet and subnet that will be used.
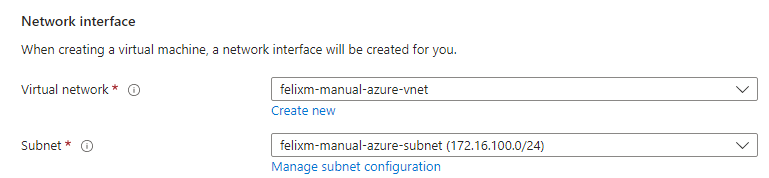
- We are using a public IP, so we selected a public IP with a Basic network security group with SSH allowed. If you are using a bastion and NAT gateway, you can choose None.
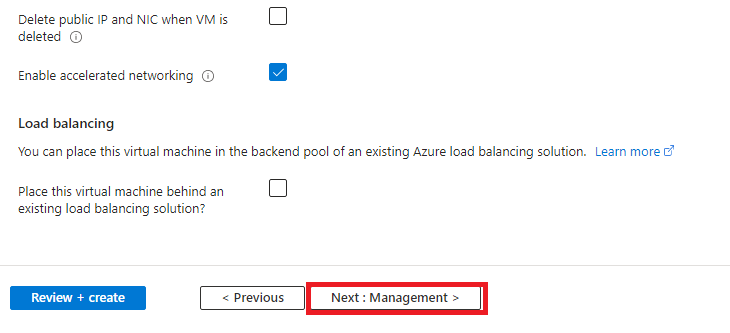
- Select Enable accelerated networking and select Next: Management.
Advanced Tab
- From the top navigation pane, select Advanced.

- (Optional) Scroll down and select the Proximity placement group that you will use for the Lightbits cluster and clients.
- Click Review + create.

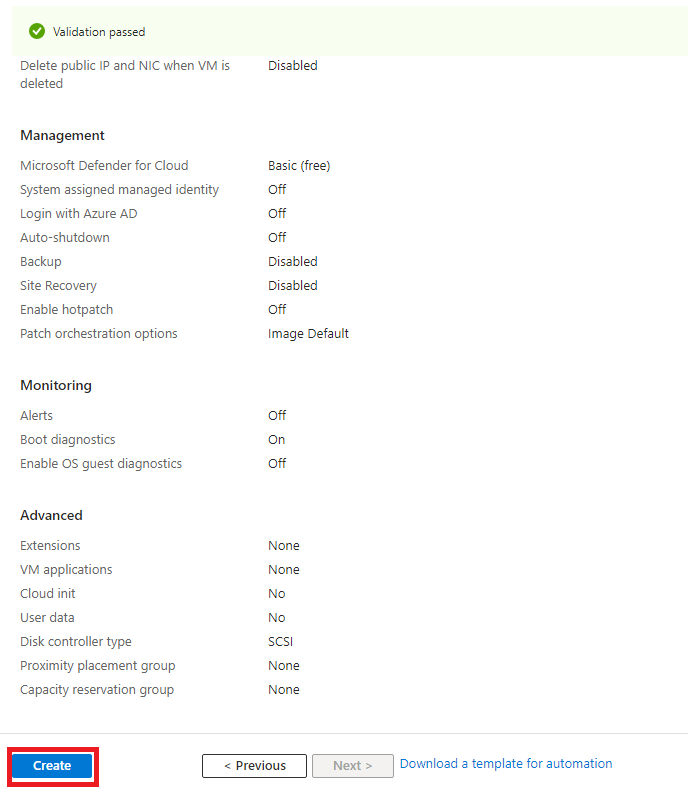
Review + Create Tab
- Review the information. When the validation has passed, click Create to deploy the VM.
- Download the private key if you created a new key, and store it safely. You will need this key to SSH into the VM later.
Confirming the Deployment
Azure will redirect you to a Deployment blade, where you can track the progress of the deployment.
Once the blade shows that the deployment is complete, validate the deployment by clicking Go to resource.
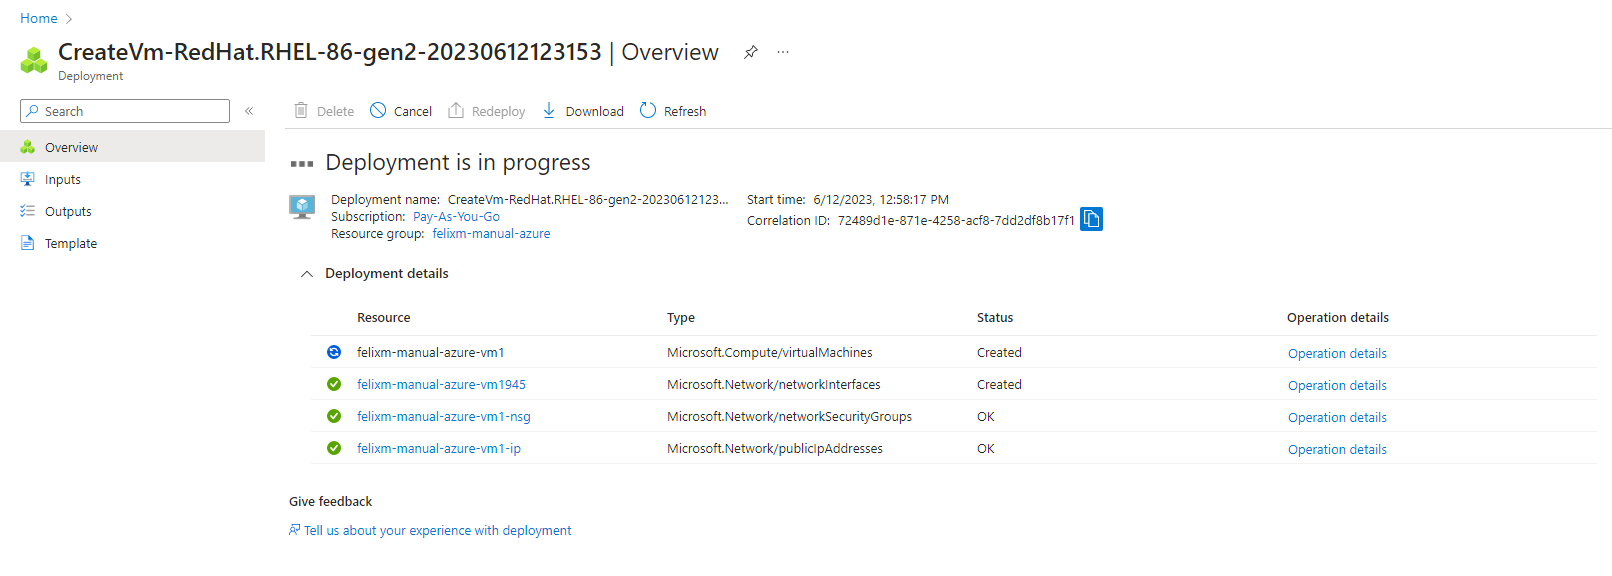
You should now see that the Virtual Machine has been deployed and is available to access.
Repeat the above process for the number of VMs that will make up your Lightbits cluster. Follow the information from Gathering Information About the Deployment Environment.