Search
The flow below provides a step-by-step guide to create a user-managed identity and assign the required built-in Azure role of Network Contributor.
In order to create a managed identity and assign the Vnet to it, you will need Role-Based Access Control Administrator (Preview) or User Access Admin roles. The user managed identity should be specifically on the scope of the Vnet that you will be using for the Lightbits storage cluster. For advanced users, you can create your own role with the Microsoft.Network/virtualNetworks/join/action permission:
- Log in to the Azure portal.
- Go to Managed Identities.
- Click Create.
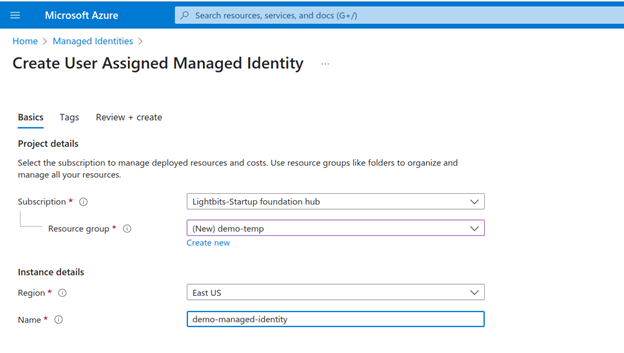
- Fill out the Resource Group, Region, and Name for the User Managed Identity.
- Click Review and Create.
- Click Create.
- Wait for the deployment to finish successfully.
- Click Go to Resource.
- Go to Virtual Networks.
- Click the Vnet that you will be using for the storage cluster.
- Click Access control (IAM).
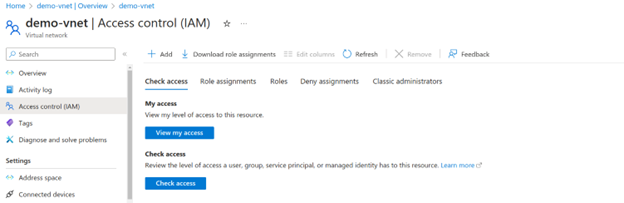
- Click Add (Add Role Assignment).
- Filter for the Network Contributor role and select the entry.
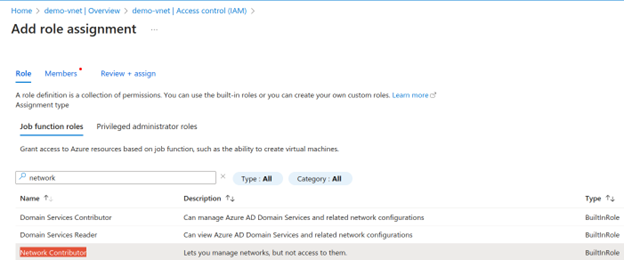
- Click Next.
- Click Managed identity.
- Click Select Members.
- Select the User Managed Identity you created in the previous step.
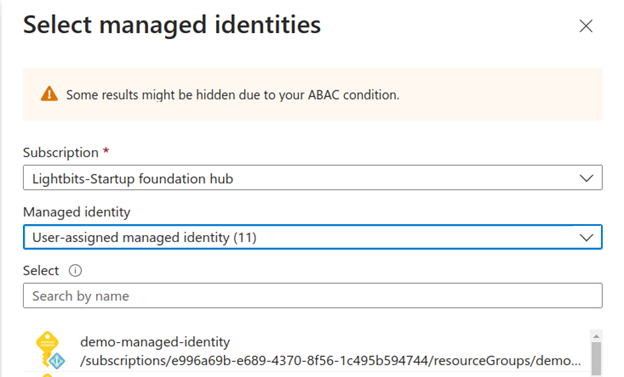
- Click Select.
- Click Review.

- Click Review and Assign.
Was this page helpful?