Deploying a Client Within the Lightbits Cluster VPC
A client instance should be launched as close to the Lightbits cluster as possible, ideally inside the Lightbits stack VPC.
To deploy the client, click Launch instances.

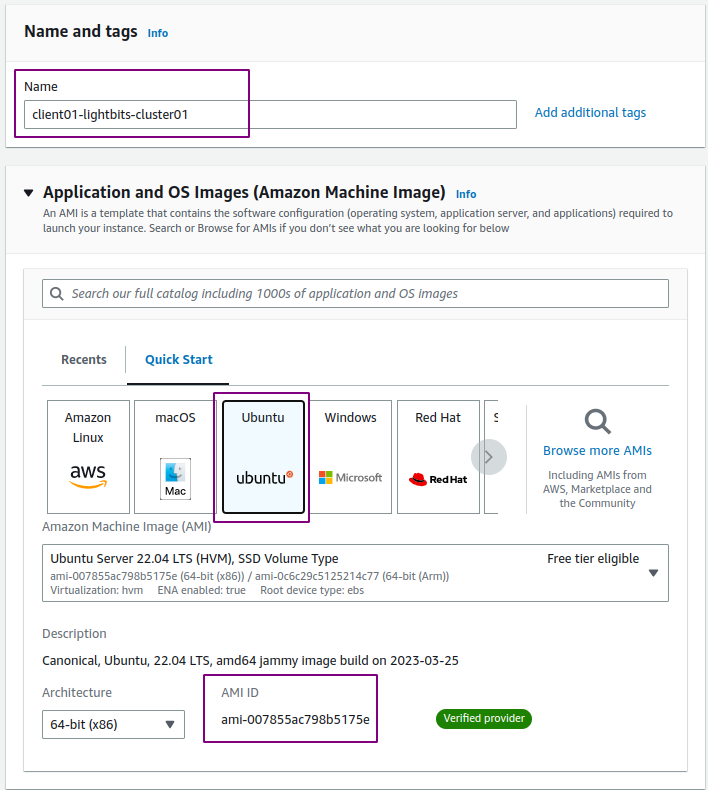
Name:
Give your client a readable name, such as workload-name-internal-lightbits-client1.
AMI (Instance Image/OS): Any supported client OS can be used. “Ubuntu” 20.4 is a good one to start with. See the Getting Started with Clients section of the Lightbits AWS Guide for additional information.
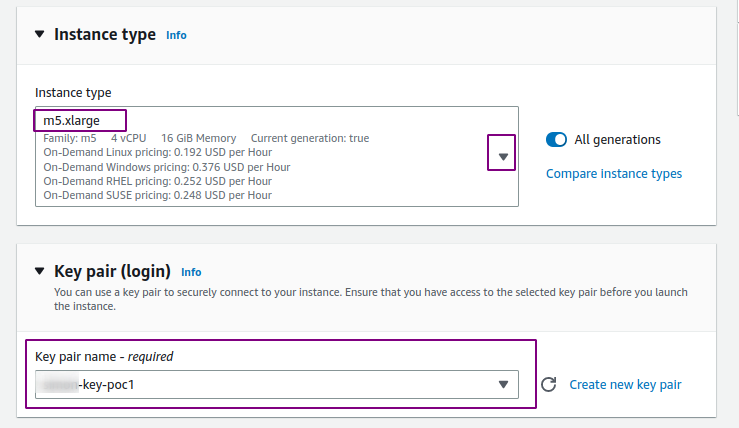
Instance Type: This depends on the workload and tests that you are running. Each instance has different attributes and there are general purpose, storage optimized, memory optimized, and GPU optimized instance families.
A good place to start is a small general purpose instance like the m5.xlarge, which has 4vcpu, 16GB memory, and up to 10Gbps of network bandwidth.
Click the drop-down and search for m5.xlarge. Select the instance type.
Key pair: In the drop-down, select the key that you created earlier:
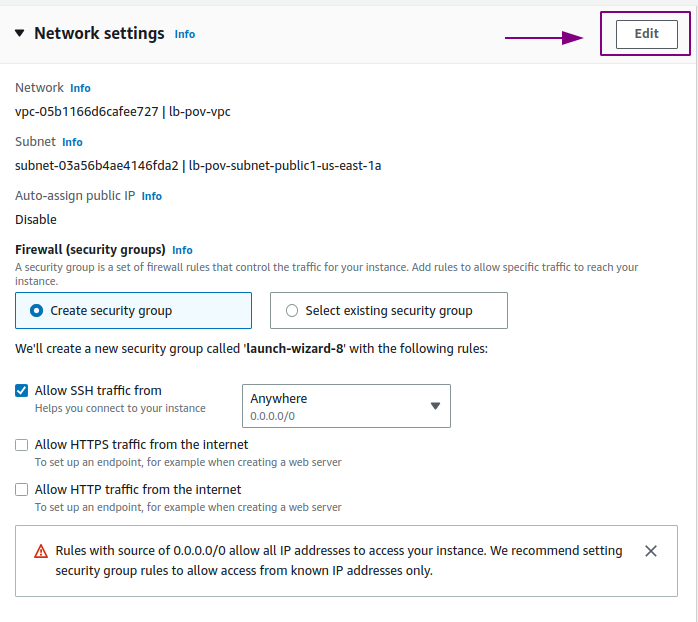
Network Settings: In order to configure with Lightbits VPC and Subnet, click Edit.
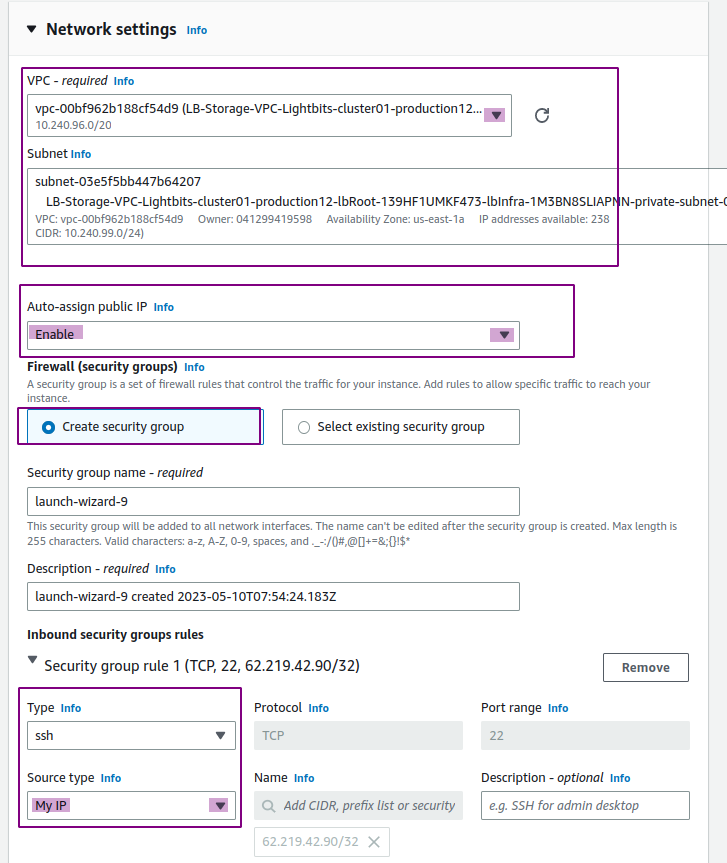
VPC: Select the drop-down and look for the entry with a name that contains your CF Lightbits stack name.
Subnet: Once you have selected your VPC, there should only be one option for subnet. This will be the same subnet that the Lightbits targets have been deployed to.
Auto-Assign Public IP: Set to enable so that you will be able to access the instance via SSH later.
Security Group:
- Keep Create security group.
- For the inbound rules, under the SSH rule, click the Source type drop-down and select My IP.
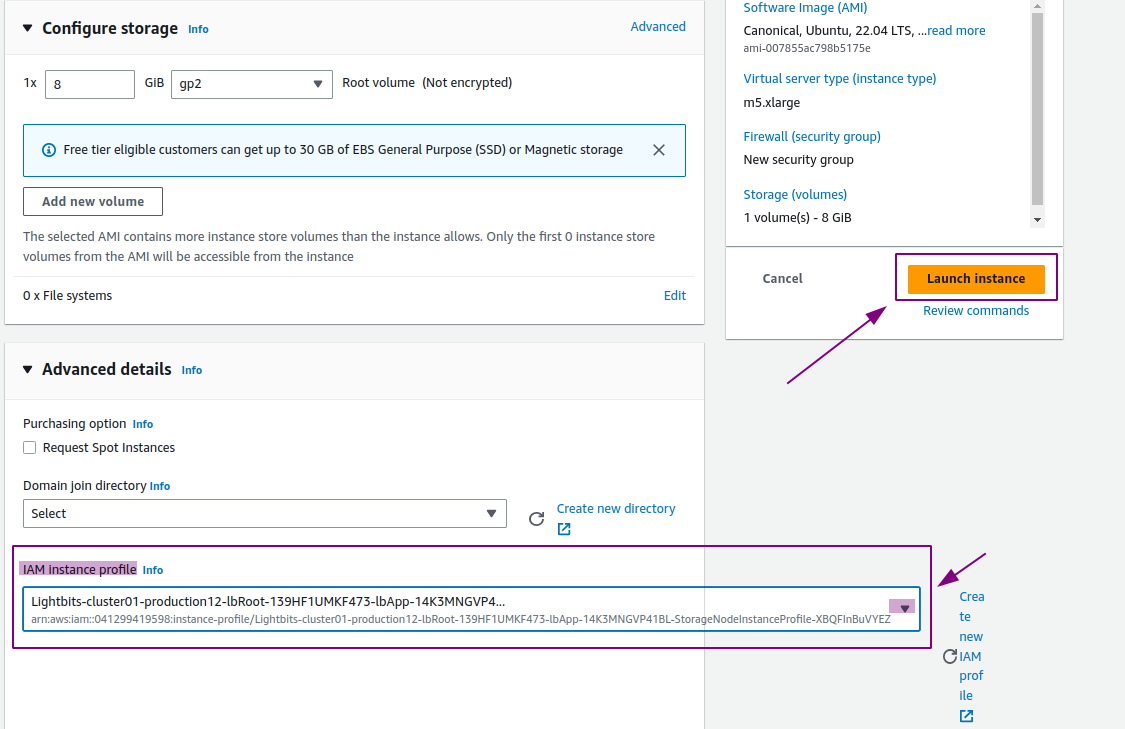
Configure Storage: Leave all of the defaults here, as you will use the Lightbits volumes storage.
Advanced Details: In order to assign to the client the same roles as the Lightbits stack, under IAM instance profile, select the profile that contains StorageNodeInstanceProfile. This will enable connectivity through AWS Session Manager.
Launch Instance: Click Launch Instance to initiate the client.
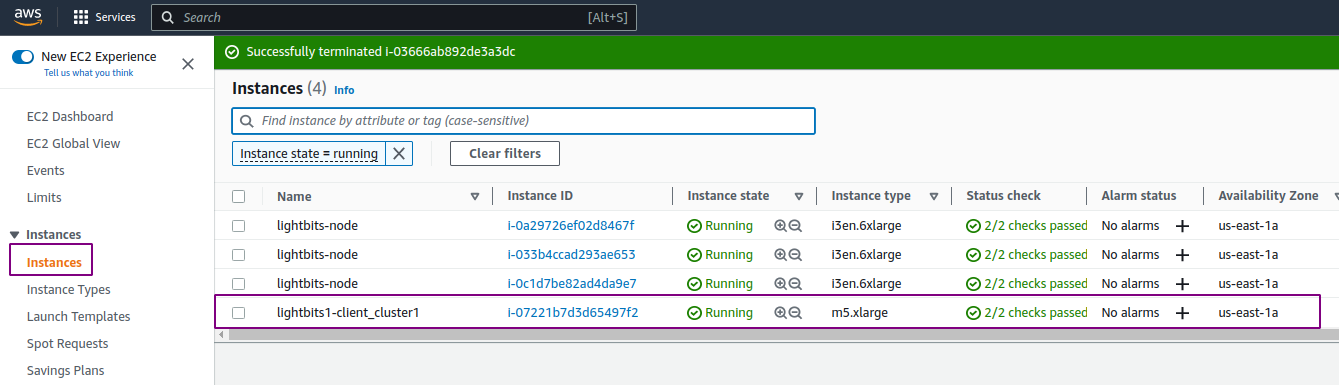
Confirm that the client is running:
- Click Instances at the top or search for EC2 again, to see that the instance is now available.
- Wait until the instance shows Running and 2/2 checks passed.
Enabling Public IP Access to the Deployed VPC
In order to SSH to the client from your end, you will need to configure the VPC to enable public access.
Configure Internet Gateway
An Internet gateway allows four outbound internet connectivity types from within an AWS VPC and subnet. This makes the subnet a public subnet, but only VMs with a public IP address will be accessible. This is ok for testing, but for more secure deployments it is best practice to have both public and private subnets within a VPC.
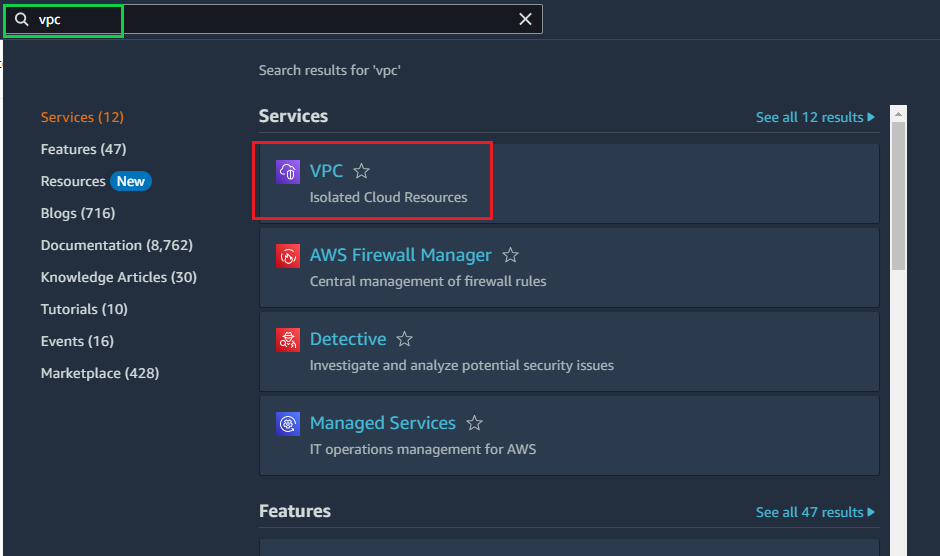
- Navigate to the AWS console, search for vpc, and then click VPC:
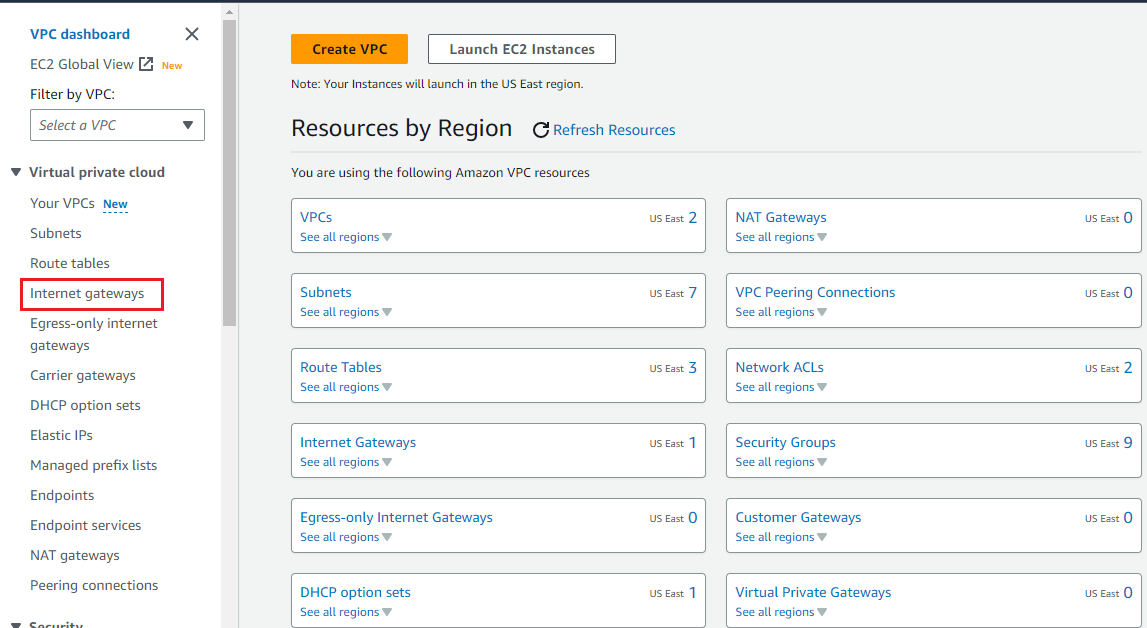
- From the left menu, click Internet gateways:
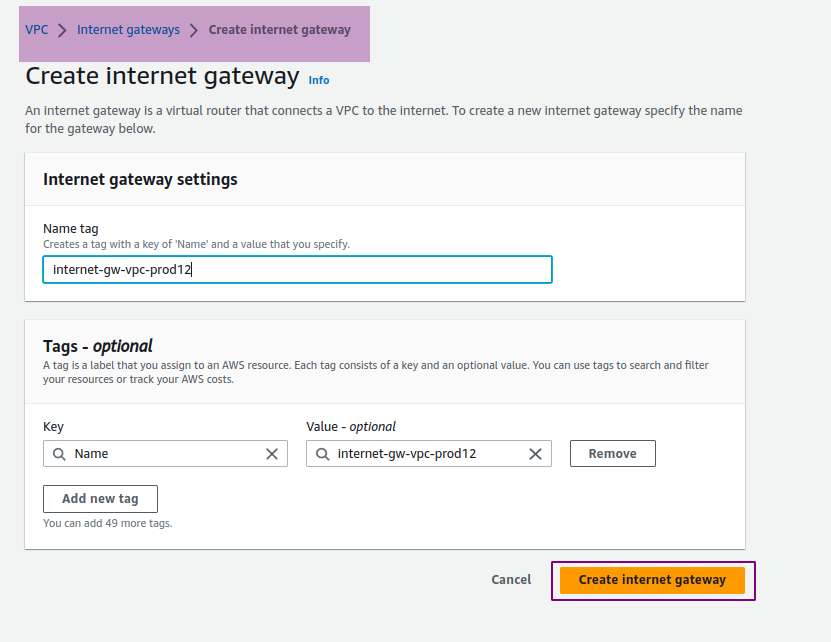
- Click Create internet gateway:

- Give your gateway a name such as
test-name-internal-lightbits-igw, and click Create internet gateway.
- Once it has been created, click Actions > Attach to VPC.
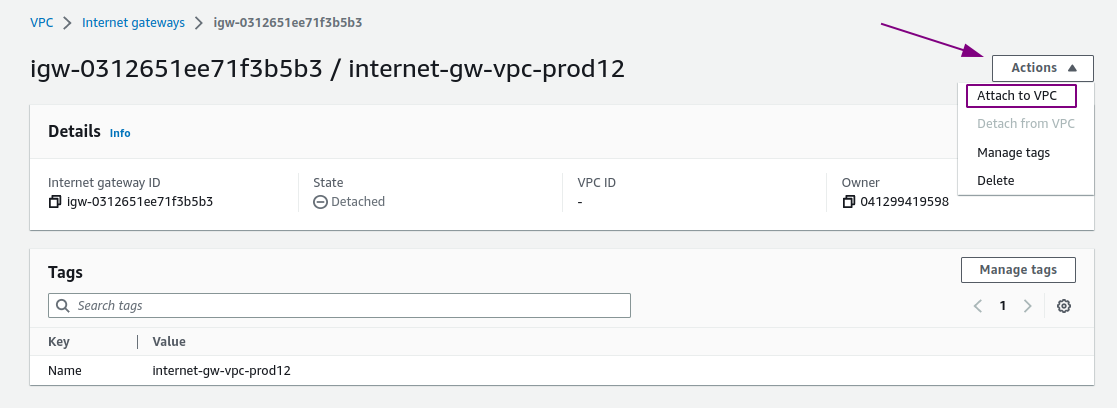
- Select your VPC from the drop-down and click Attach internet gateway.

Configuring a Route to the Internet Gateway
Now that you have a gateway, you need to provide a route in the subnet Route Table to allow outbound traffic to flow out over the Internet Gateway.
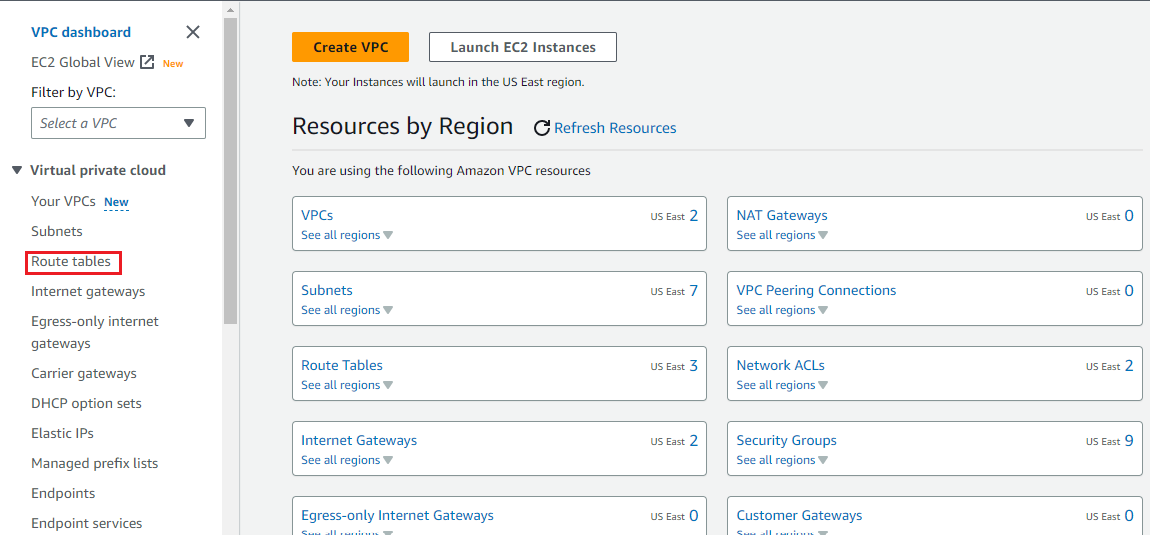
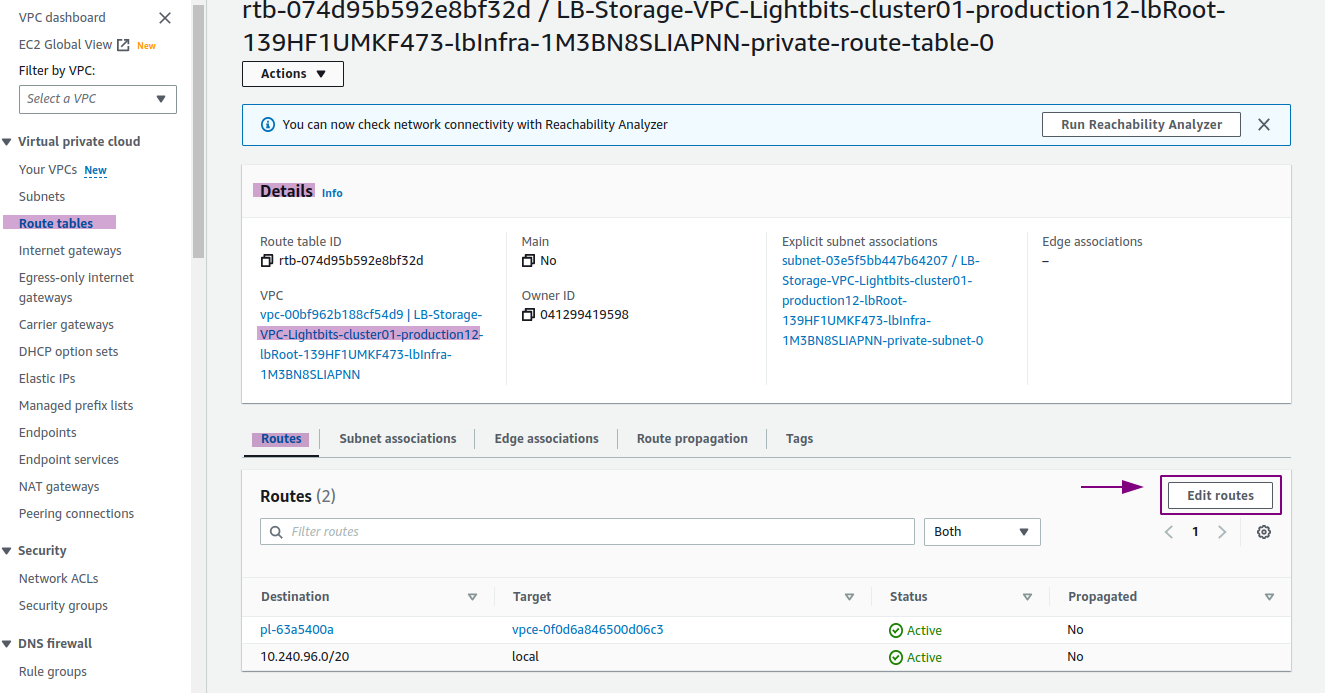
- Within the VPC dashboard from the left menu, click Route tables.
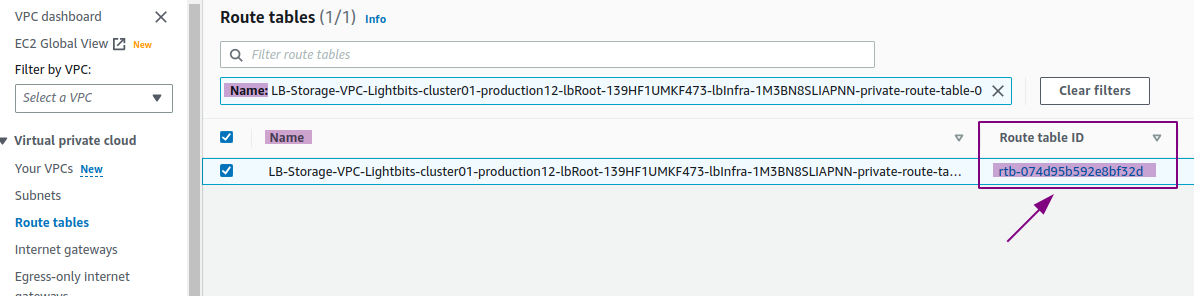
- Expand the Name of the Route tables and select the table for your VPC that has an Explicit subnet association (this is attached to the Lightbits subnet). Then click Routes.
- Click Edit routes.
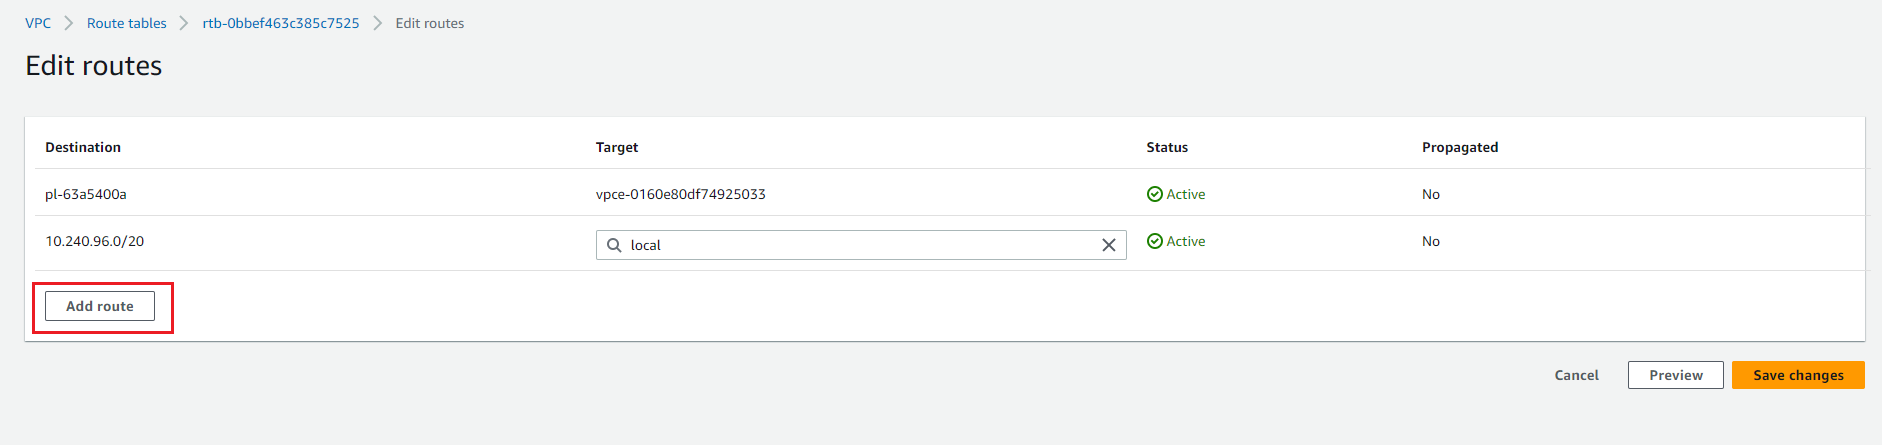
- Click Add route.

- For Destination, use 0.0.0.0/0. For Target, choose Internet Gateway, and select the gateway that was just created.
- Click Save changes.
The client is now launched inside the Lightbits VPC, and accessible for SSH from your laptop/server. Alternatively, if you assigned the client the StorageNodeInstanceProfile IAM Instance Profile, you can also connect through AWS Session Manager.