Search
SSH and Set Ubuntu Client Instances in Lightbits VCP
SSH to the Client Instance By default, Lightbits IAM enables the instances in the Lightbits VPC to use the web-based SSM terminal. In order to SSH from your end, follow the steps below.
- Go to EC2 in your AWS console, and find your client under the Running instances.
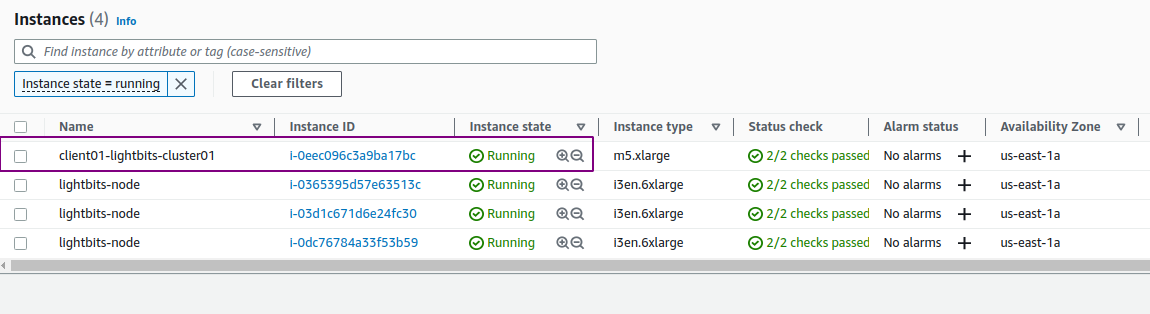
- Click Connect on the right.
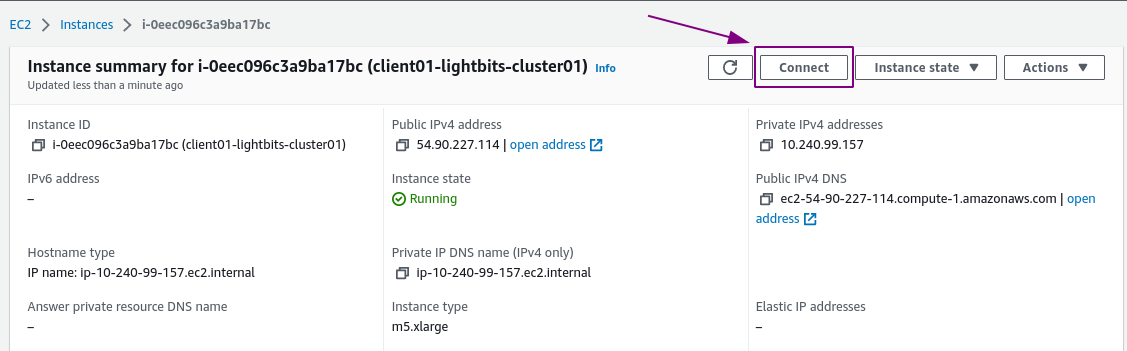
- Hover on SSH client, and copy the Example you get. This is the exact string that can be used for SSH.
- Make sure to SSH from the same location where your SSH-key is located.
- Before running the command, run
chmod 400 ssh-key-prod1.pem.

- Paste the string you copied to the terminal prompt, and you will be connected to the client server.
- Run
sudo apt-get update -yand update the OS.

- Install the extra kernel modules for AWS (which contains nvme-tcp support):
sudo apt install -y linux-modules-extra-aws
- Click Enter when prompted.
- Reboot the system to have the changes take effect:
sudo reboot. - The SSH session will close, so SSH back into the system, as above.
- Load the nvme-tcp module:
sudo modprobe nvme-tcp. - Install the upstream nvme-cli tools:
sudo apt install -y nvme-cli.

- Verify that the nvme-tcp module is loaded:
lsmod | grep nvme_tcp. - Verify that the latest nvme-cli is installed:
nvme -version.

Now that the Ubuntu client is set, you can easily create a volume on the Lightbits target node, and provision the volume to the client with nvme-connect.
You can SSH from the client to the Lightbits nodes, by using an Internal IP of the node. Make sure to copy (through copy paste) your SSH-key from your workstation to the client instance.
Was this page helpful?